DoorBird#
![]()
Positives#
- Price
- Design options
- Simplicity
- Proprietary cloud app
Negatives#
- Bad audio quality via SIP
Setup Instructions#
Step 1: Initial Configuration#
Install the DoorBird app and follow administrative setup instructions by scanning the QR code provided by the manufacturer.
In the administration page, access SIP Calls and add at least one user.
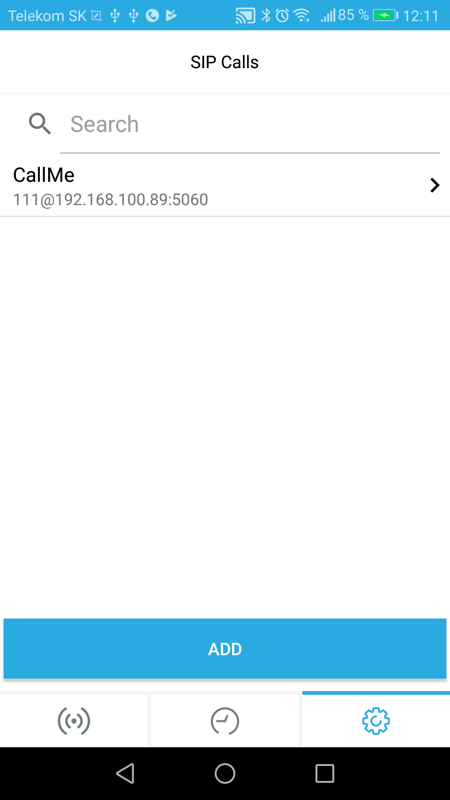
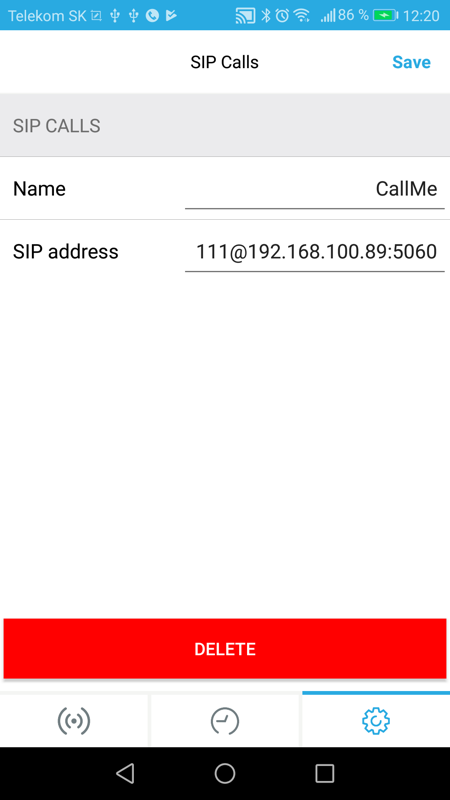
Step 2: Define SIP User#
Set the Name to any value (example: “CallMe”) for later reference.
Configure SIP address format: nnn@Core IpAddress:5060 where:
nnn= SIP number sent to Core SIP serverCore IpAddress= Core IP (found in TapHome app location settings)5060= SIP UDP port
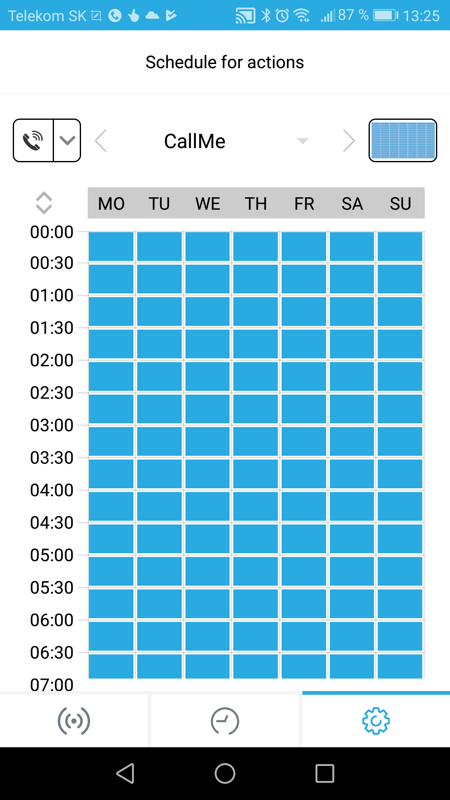
Step 3: Schedule Doorbell#
Navigate to Schedule section. Select SIP call from left menu, choose the user created previously, and set activation times.
Step 4: SIP Settings#
Activate SIP and set SIP proxy to TapHome Core IP address.
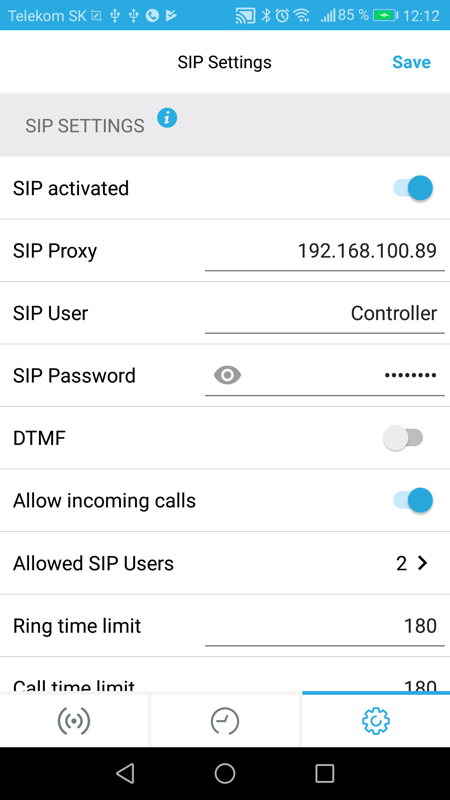
Step 5: Allowed SIP Users#
Add user with phone number 111 and TapHome Core IP address.
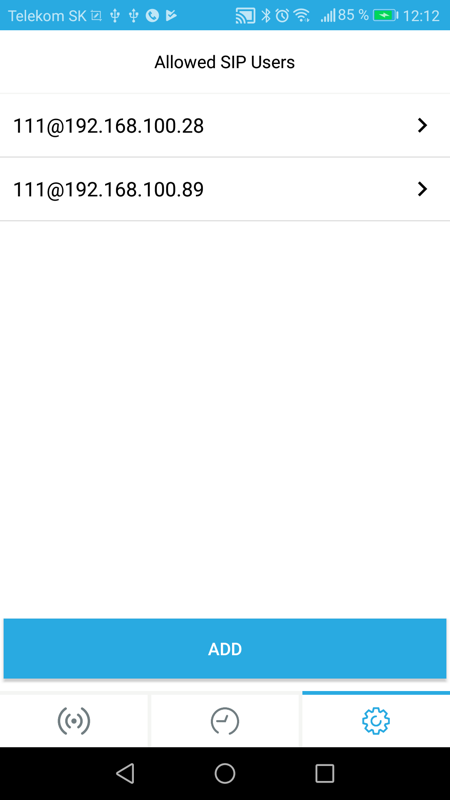
Save all changes when prompted.